# 导入资源
# 加入资源
- 创建 assets 目录
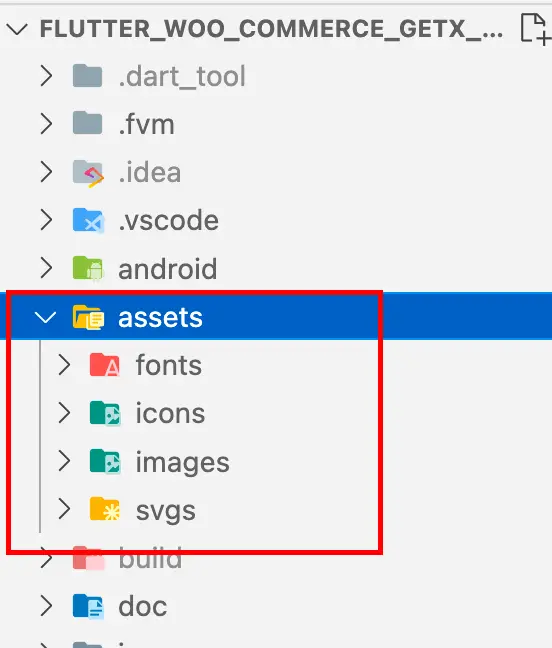
在根目录下创建assets,然后按资源类型分别创建目录
- 编辑
pubspec.yaml
# The following section is specific to Flutter.
flutter:
    ...

  # To add assets to your application, add an assets section, like this:
  assets:
    - assets/images/
    - assets/svgs/
    - assets/json/
1
2
3
4
5
6
7
8
9
2
3
4
5
6
7
8
9
如果你想整个目录导入可以这样
- assets/images/
只是导入指定图片- assets/images/abc.png
- 读取资源
File.json(
  'assets/json/app.json',
  ...
)
1
2
3
4
2
3
4
路径是从assets开始,指定文件位置
# 图片的处理
Flutter中使用3倍图(3x images)的主要原因是为了适配不同分辨率的设备,特别是高分辨率的显示屏。
# 1. 首先下载插件 <Flutter GetX Generator - 猫哥>
https://marketplace.visualstudio.com/items?itemName=ducafecat.getx-template (opens new window)
# 2. 根据 x3 图片自动生成 x1 x2 图片
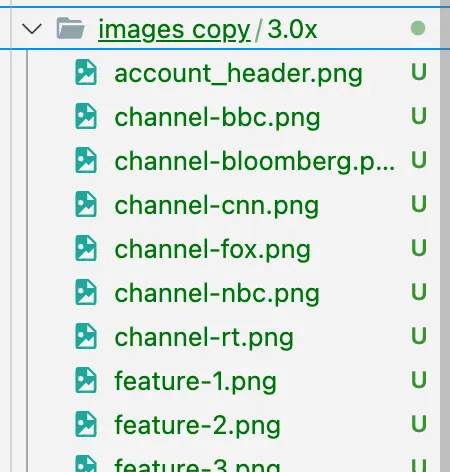
将准备好的图片放入到
3.0x目录下
![Image]()
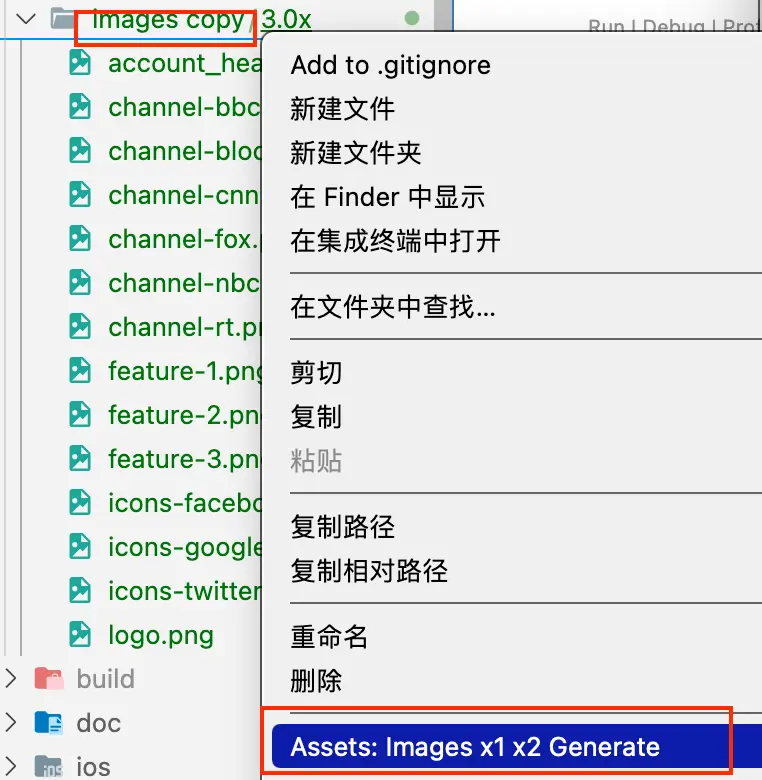
右键点击菜单
Assets: Images x1 x2 Generate
![Image]()
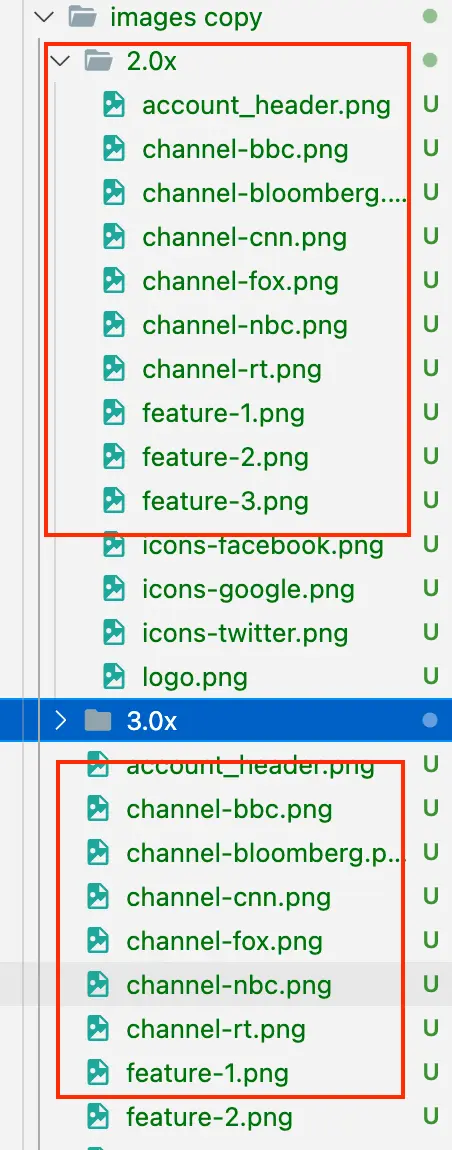
成功生成了 2.0x 文件夹,和 1x 的图片
![Image]()
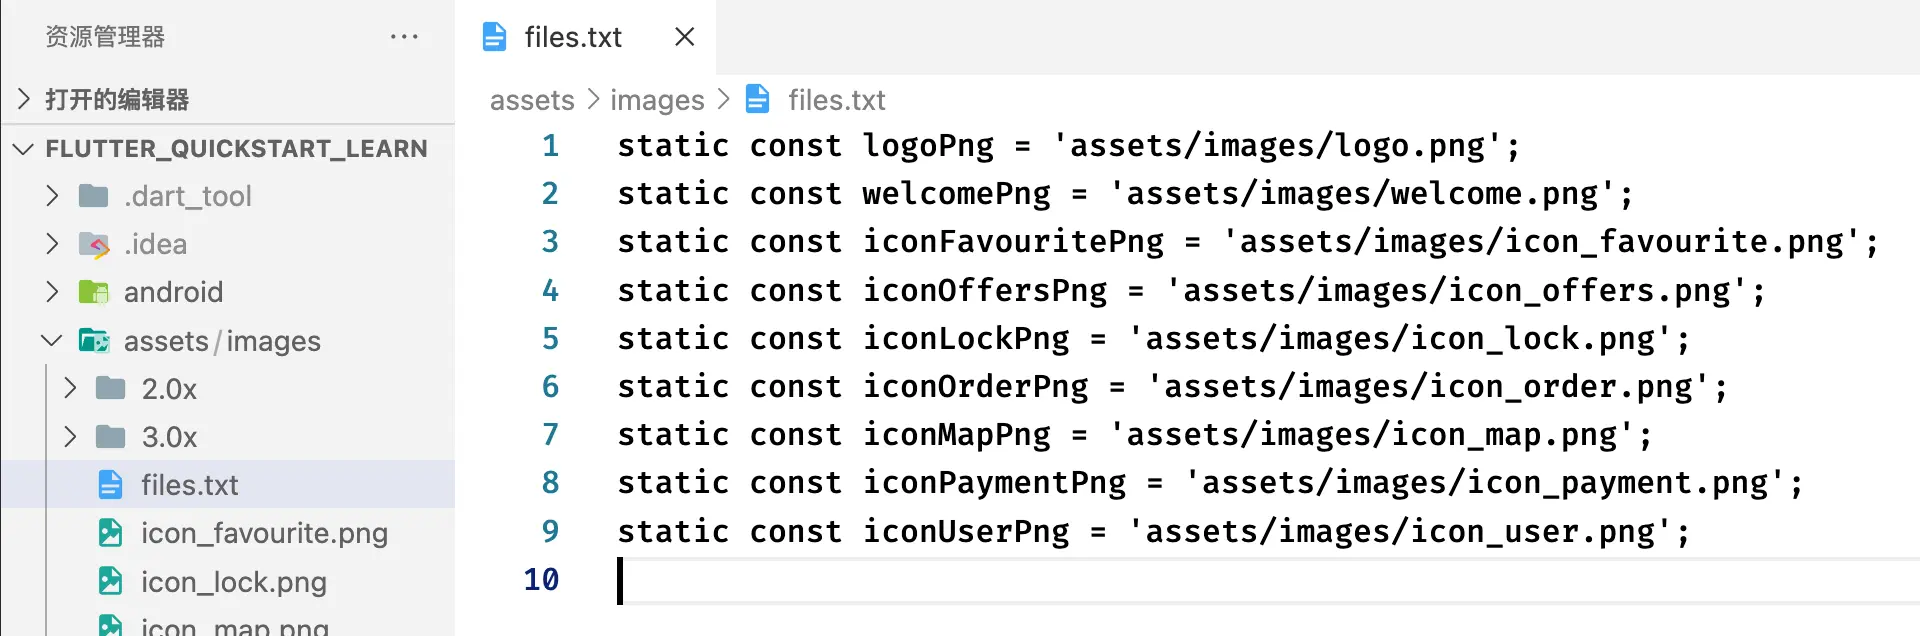
成功生成了 资源索引文件 - files.txt 文件
![Image]()
# 创建你自己的资源 dart 文件
- 利用files.txt的内容创建 资源dart文件
/// 图片资源
class AssetsImages {
  static const logoPng = 'assets/images/logo.png';
  static const welcomePng = 'assets/images/welcome.png';
  static const iconFavouritePng = 'assets/images/icon_favourite.png';
  static const iconOffersPng = 'assets/images/icon_offers.png';
  static const iconLockPng = 'assets/images/icon_lock.png';
  static const iconOrderPng = 'assets/images/icon_order.png';
  static const iconMapPng = 'assets/images/icon_map.png';
  static const iconPaymentPng = 'assets/images/icon_payment.png';
  static const iconUserPng = 'assets/images/icon_user.png';
}
1
2
3
4
5
6
7
8
9
10
11
12
2
3
4
5
6
7
8
9
10
11
12
- 读取图片
...
  Image.asset(
    AssetsImages.iconUserPng,
    ...
  ),
1
2
3
4
5
2
3
4
5
直接用你的 AssetsImages 管理,这样不会应拼写错误造成错误。